To access RFD TV on your Roku, start by going to the Roku Channel Store. You can navigate there directly from your Roku-Connected TV or via the web or mobile app on Android or iOS devices. Search for ‘RFD TV’, and click ‘Addf Channel‘.
Make sure your Roku device has the latest software version for a smooth process. Channel activation should occur automatically upon app launch. If you’re facing glitches, try troubleshooting by reinstalling the app or checking your internet connection. Stay tuned for more tips on getting the most from your Roku experience. 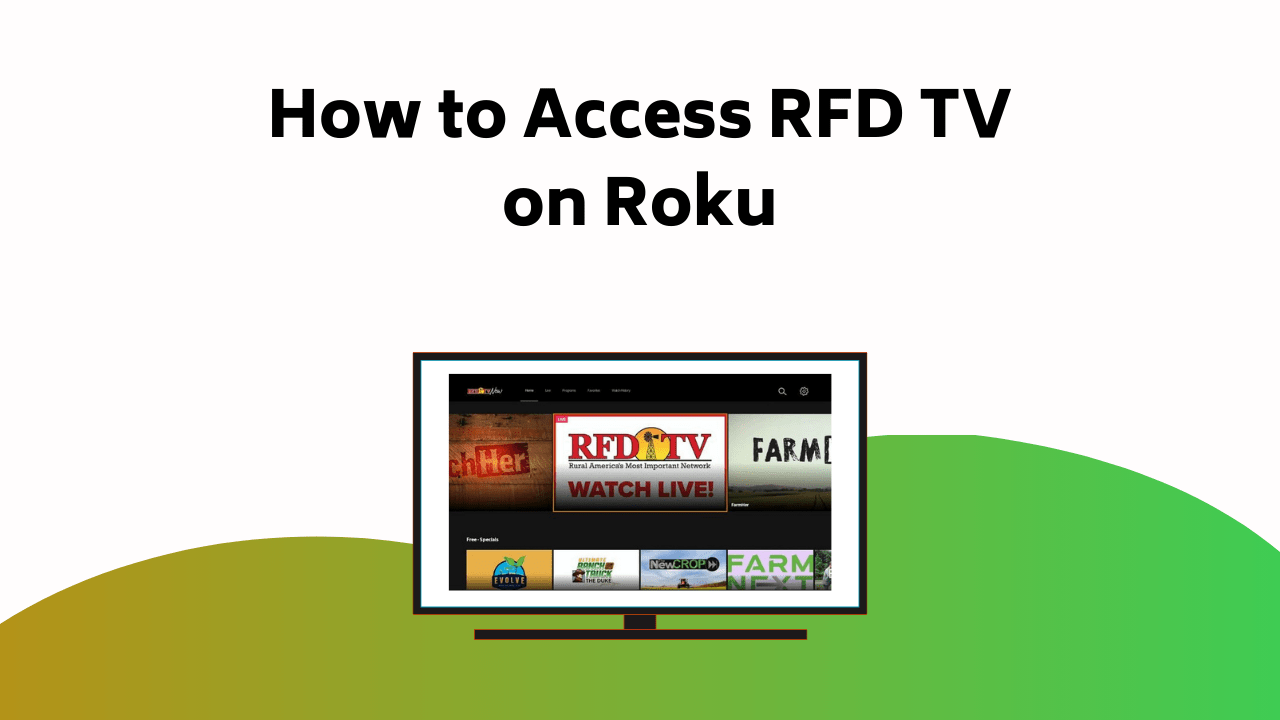
Contents
Guide to Access RFD TV on Roku
Starting the process to access RFD TV on your Roku device is simple and doesn’t require any activation code. You just need to install the app from the Roku Channel Store and launch it on your TV.
If you encounter any issues, don’t worry. There are troubleshooting tips you can follow to resolve most common problems. In case the app isn’t working properly, try uninstalling and reinstalling it. This usually solves most glitches.
The key step is the channel activation, which happens automatically once you launch the app. For the smooth functioning of the app, make sure your Roku device is updated to the latest software version.
Adding RFD TV on Roku-Connected TV
Once you’ve verified you have a stable internet connection and your Roku device is updated, you’re ready to add the featured RFD TV channel to your Roku-connected TV.
Navigate to the Roku home screen and select ‘Streaming Channels’ to open the Channel Store.
Now, enter ‘RFD TV’ in the search bar. Once located, click ‘Add Channel’ to install. It’s that simple! If you encounter issues, here are some troubleshooting tips: check your streaming quality and internet speed, as slow connections often affect playback.
Also, ensure your Roku software is up-to-date, this small technology update can fix bugs and improve performance. Rebooting your Roku device is another quick solution for minor glitches.
With everything set, sit back and enjoy unlimited access to the RFD TV channel on your Roku device, powered by reliable streaming technology and designed as one of Roku’s featured content options.
Installing RFD TV App From the Web
If you’re frequently on the move, you can also install the RFD TV app on your Roku device using the web. The web installation process is straightforward and convenient. Begin by signing into your Roku account on their website. Navigate to the Channel Store and input ‘RFD TV’ in the search bar. Once you’ve located the RFD TV app, click on ‘Add Channel’ to initiate the download.
After the installation process, it may take up to 24 hours for the app to appear on your Roku device. So, don’t fret if you don’t see it immediately. If you’re still not seeing the app after this period, follow troubleshooting tips such as checking your internet connection or restarting your Roku device.
Roku Account Sign-In Procedure
Before you can add the RFD TV app via the web, you’ll need to successfully log in to your Roku account. Getting through this process may seem challenging, but don’t worry; we’ve got you covered.
Here’s your step-by-step guide:
- Go to the Roku website and click on ‘Sign In’.
- Enter your email address and password linked to your Roku account.
- If you experience any difficulties, keep in mind, troubleshooting Roku activation is readily available.
- Once logged in, you’re ready to check out the RFD TV programming schedule.
Adding RFD TV App Via Mobile
To add the RFD TV app to your Roku devices using a mobile, you’ll first need to download and launch the Roku mobile app on your Android or iOS device. After successfully launching the app, navigate to the Channel Store. Here, you can either browse through the available channels or use the search function to find the RFD TV app.
Once you’ve located it, tap on the app icon and select ‘Add’. The mobile app installation will take a few moments to complete. If you encounter any issues during this process, there are troubleshooting tips available within the app to assist you.
After installation, the RFD TV app will be accessible on all Roku devices linked to your account.
Using Roku Mobile App for Installation
Using the Roku mobile app for installation, you’re able to quickly and conveniently add the RFD TV app to all your linked Roku devices. This process is simple and requires just a few steps.
Here are some points to guide you:
- Download the Roku app on your mobile device and log in to your account.
- Tap on ‘Channel Store’ and use the search bar to find ‘RFD TV’.
- Click ‘Add Channel’ to install the app on all your devices.
- Wait for the installation process to complete before you can start streaming.
Conclusion
There you have it, folks! You’re now equipped with the know-how to access RFD TV on your Roku, opening up a world of rural and agricultural entertainment at your fingertips.
Isn’t it wonderful how technology brings us closer to our interests? So, go ahead, seize the opportunity, and immerse yourself in the diverse world of RFD TV.
Happy viewing, and remember, every new channel is a new adventure waiting to unfold.